How to add local LLM source code auto-completion to VS Code
Table of Contents
Some LLM models are trained for source code generation. The goal here is to run the LLM model locally, thereby allowing private and unlimited, “free” use. The trade-off is that the local model is generally smaller than commercial ones and, thus, is not as “smart.”
We will outline the installation steps for VS Code. Future LLM models will be smarter. This installation allows drop-in replacement.
LLM backend #
- Install and run LM Studio.
- Turn on Developer mode. Click on “Developer” button on the bottom status bar.
- One source code generation LLM is the Qwen2.5-Coder. Search for
qwen2.5-coder-7b-instructmodel and download the 4-bit model.- If you are on an Apple Silicon Mac, consider using a MLX variant of the model rather than GGUF. Both will work, but a MLX variant will be more performant.
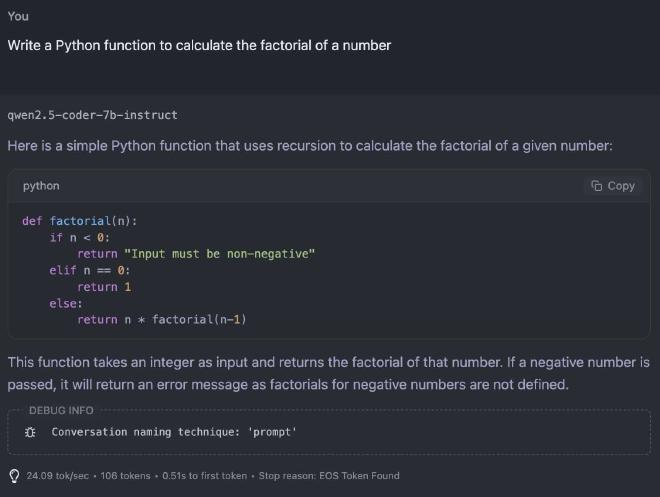
- For verification, open a chat window like on ChatGPT and load the model we just downloaded. Then enter the following prompt:
Write a Python function to calculate the factorial of a number
The result will be similar to below:

Note the tokens per second and time to first token at the bottom of the screenshot. Because of Developer mode, these metrics are reported. The latter metric will give you a sense of the latency of auto-completion. Bigger models will generally have longer latency.
Tokens per second, the former metric, is the speed of AI writing. If we are in chatbot mode, we want the LLM’s writing speed be faster than our reading speed. Here auto-completion is generally shorter amount of text, so writing speed probably does not matter that much. A shorter latency is probably more desirable.
VS Code #
Install VS Code or VS Codium, which is a community-driven, freely-licensed binary distribution of Microsoft’s editor VS Code.
Install the Continue extension. Here is the official installation guide.
- Their installation guide has steps for JetBrains IDE, but I have not tested it.
Since we are running local model, account creation is not needed for Continue.
Find local config setting and edit
config.yamlas follows.
name: Local Config
version: 1.0.0
schema: v1
models:
  - name: qwen2.5-coder-7b-instruct for autocomplete
    provider: lmstudio
    model: qwen2.5-coder-7b-instruct
    apiBase: http://localhost:1234/v1/
    roles:
      - autocomplete
Note model: qwen2.5-coder-7b-instruct. The model name comes from the model name we downloaded in LM Studio. To get this name, go back to the factorial chat window in LM Studio. Right-click on the model name at the center top and choose “Copy Default Identifier”.
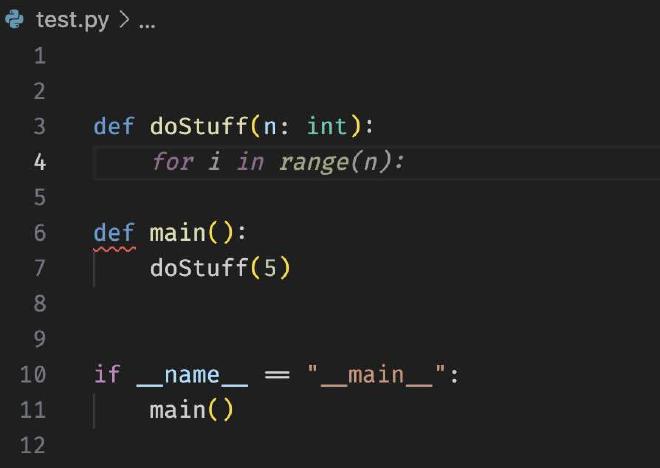
- Verification. Create a new file and save it as
test.py.

Note the for i in range(n): in italic? That’s the auto-completion by the LLM. My cursor (not in the screenshot) is before for.
Tweaks #
- In Continue, Disable autocomplete in files: **/*.(txt,md)